BUILD QUESTS
A quest is a route, a set of checkpoints along it, and the interactions waiting at each one. You can build all three by hand in a few minutes. Work top to bottom: name the quest, lay the path, drop the checkpoints, then fill them.
Name the quest and choose its style
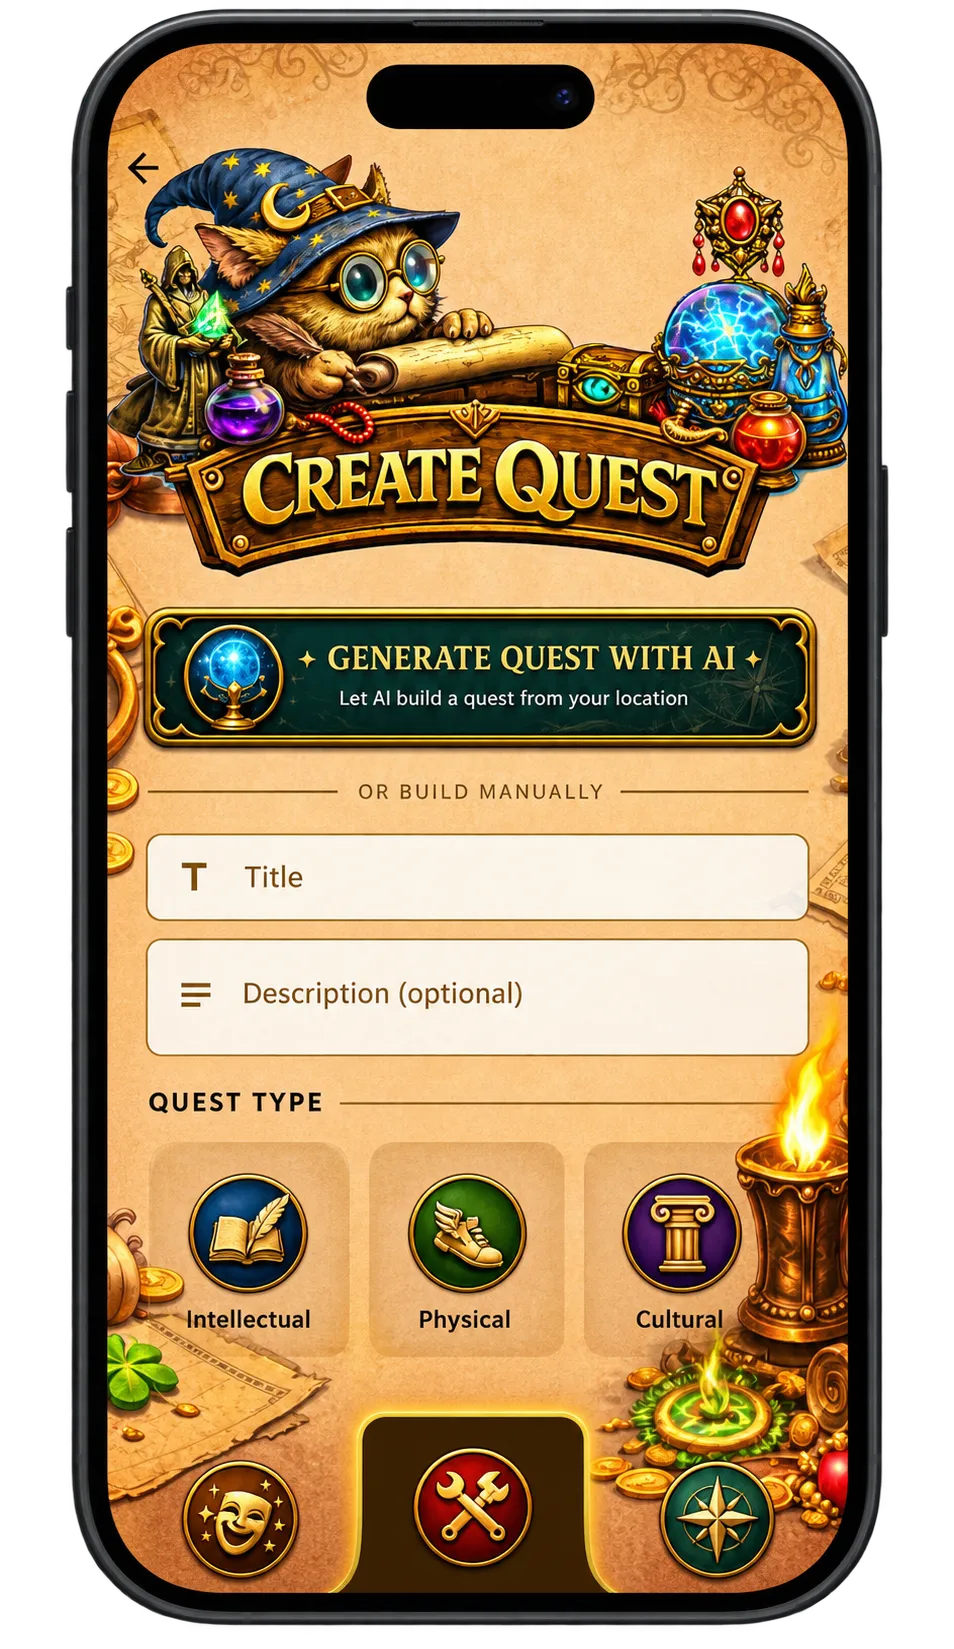
Open Create from the main navigation. The first screen asks for a title and, optionally, a description. Both are shown to anyone who opens the quest later, so the description is the place to set expectations: how long it takes, what the terrain is like, whether it suits children.
Under Quest Type you pick the register the quest is written in — Intellectual, Physical or Cultural. This choice shapes the narration and the kind of interaction Waybound suggests at each checkpoint, and it can be changed later.
The green Generate Quest with AI panel sits above the manual fields. It builds a complete quest from your location instead of asking you to lay one out. Ignore it for now; it has its own walkthrough.
Lay the route, or walk it
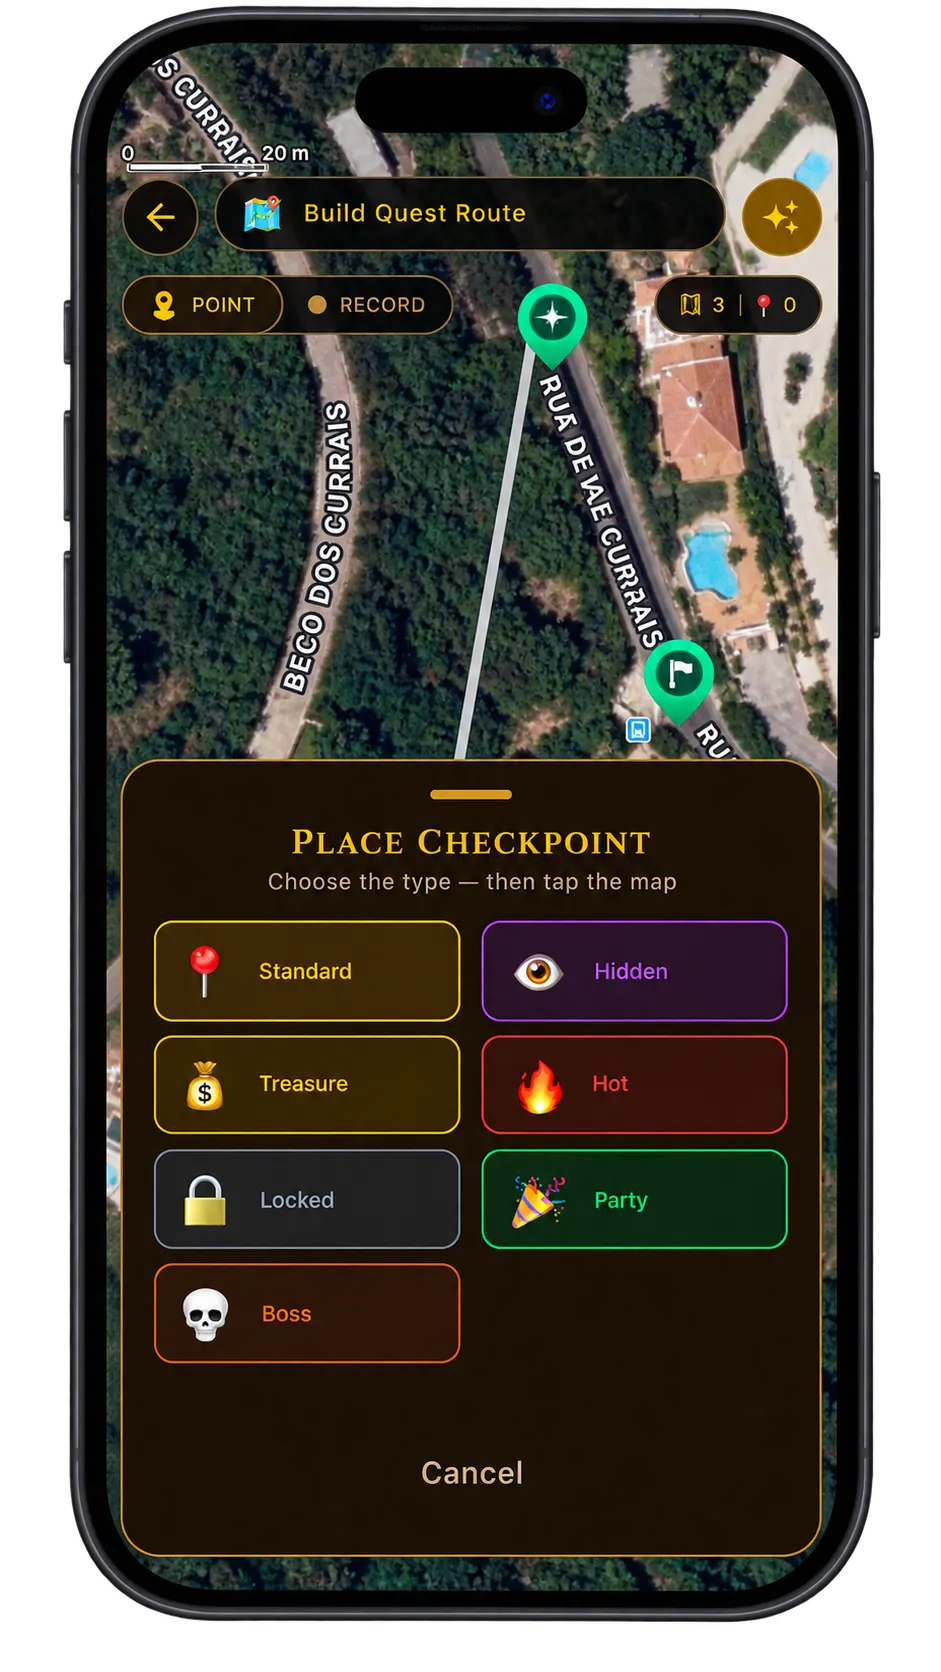
The Build Path screen is where the quest gets its shape. Tap the map to drop points and Waybound draws the route between them, following walkable ways rather than straight lines.
If you already know the walk, record it instead: start recording and move, and the path is captured as you go. Recording is the faster option for trails and shortcuts that no map knows about.
A route can be one-way or a round trip back to its start. Nothing is fixed here — points can be moved or removed until the quest is published.
Place checkpoints along the route
Checkpoints are the stops that make a route a quest. Each one sits on the path and holds whatever you want to happen at that spot.
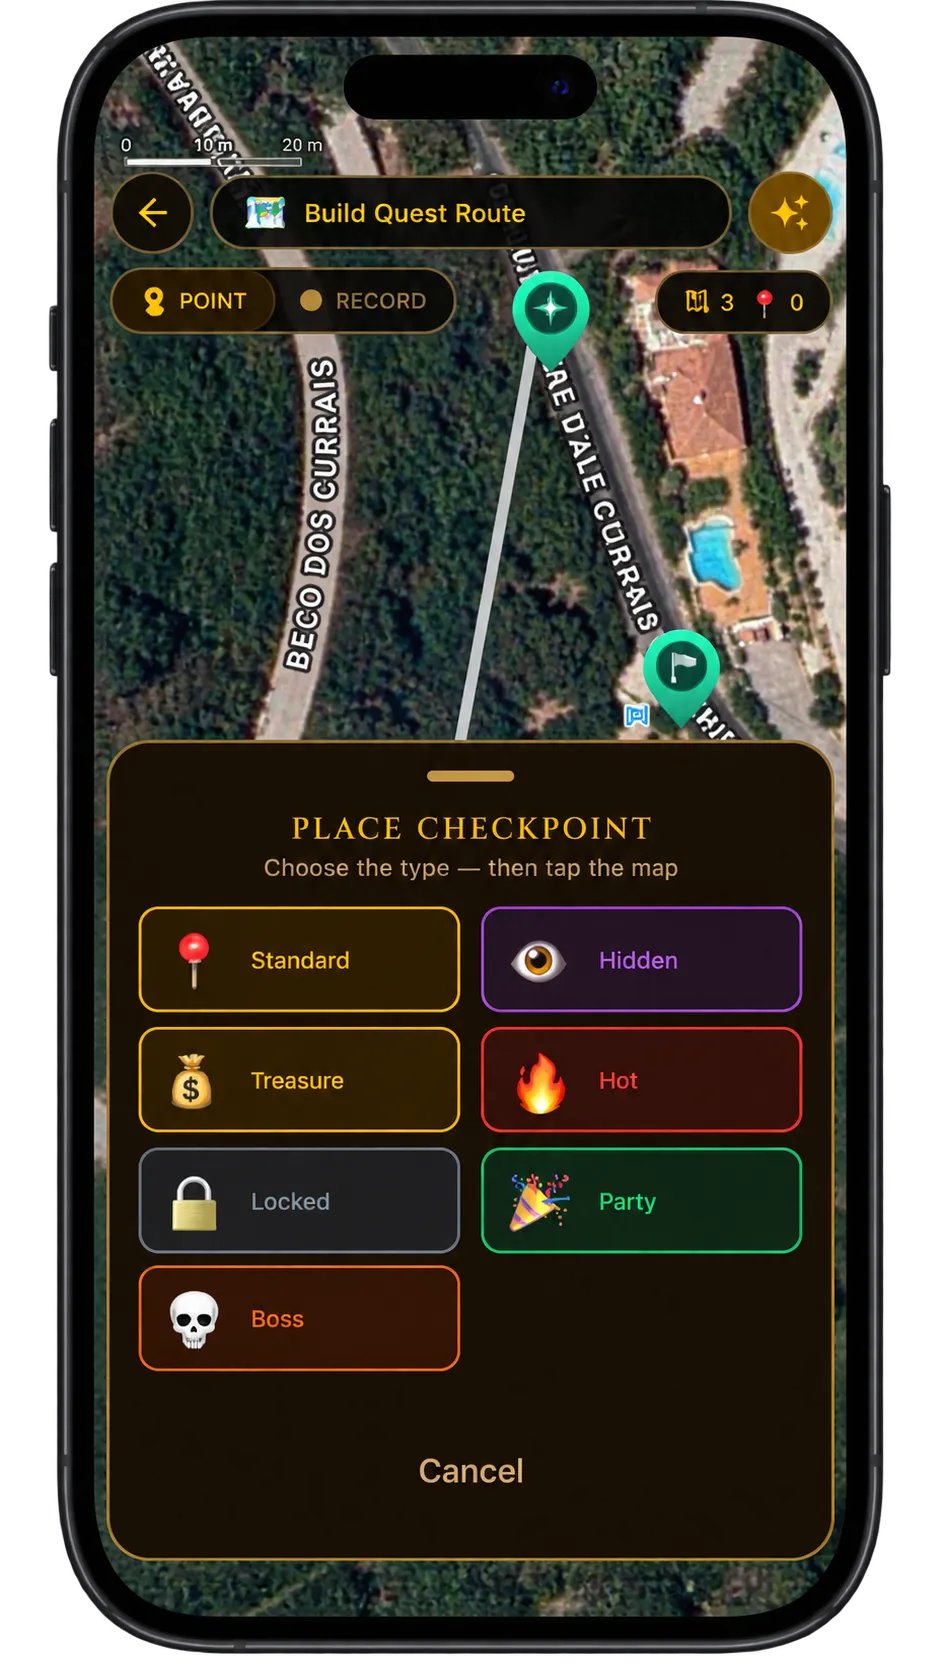
The selector lets you choose what kind of checkpoint you are adding before you place it. Spacing matters more than count: a checkpoint every few hundred metres keeps a walk moving, while clustering them turns a small area into a dense hunt.
Add them in the order players will meet them. You can reorder and reposition afterwards from the checkpoint list.
Fill each checkpoint with something to do
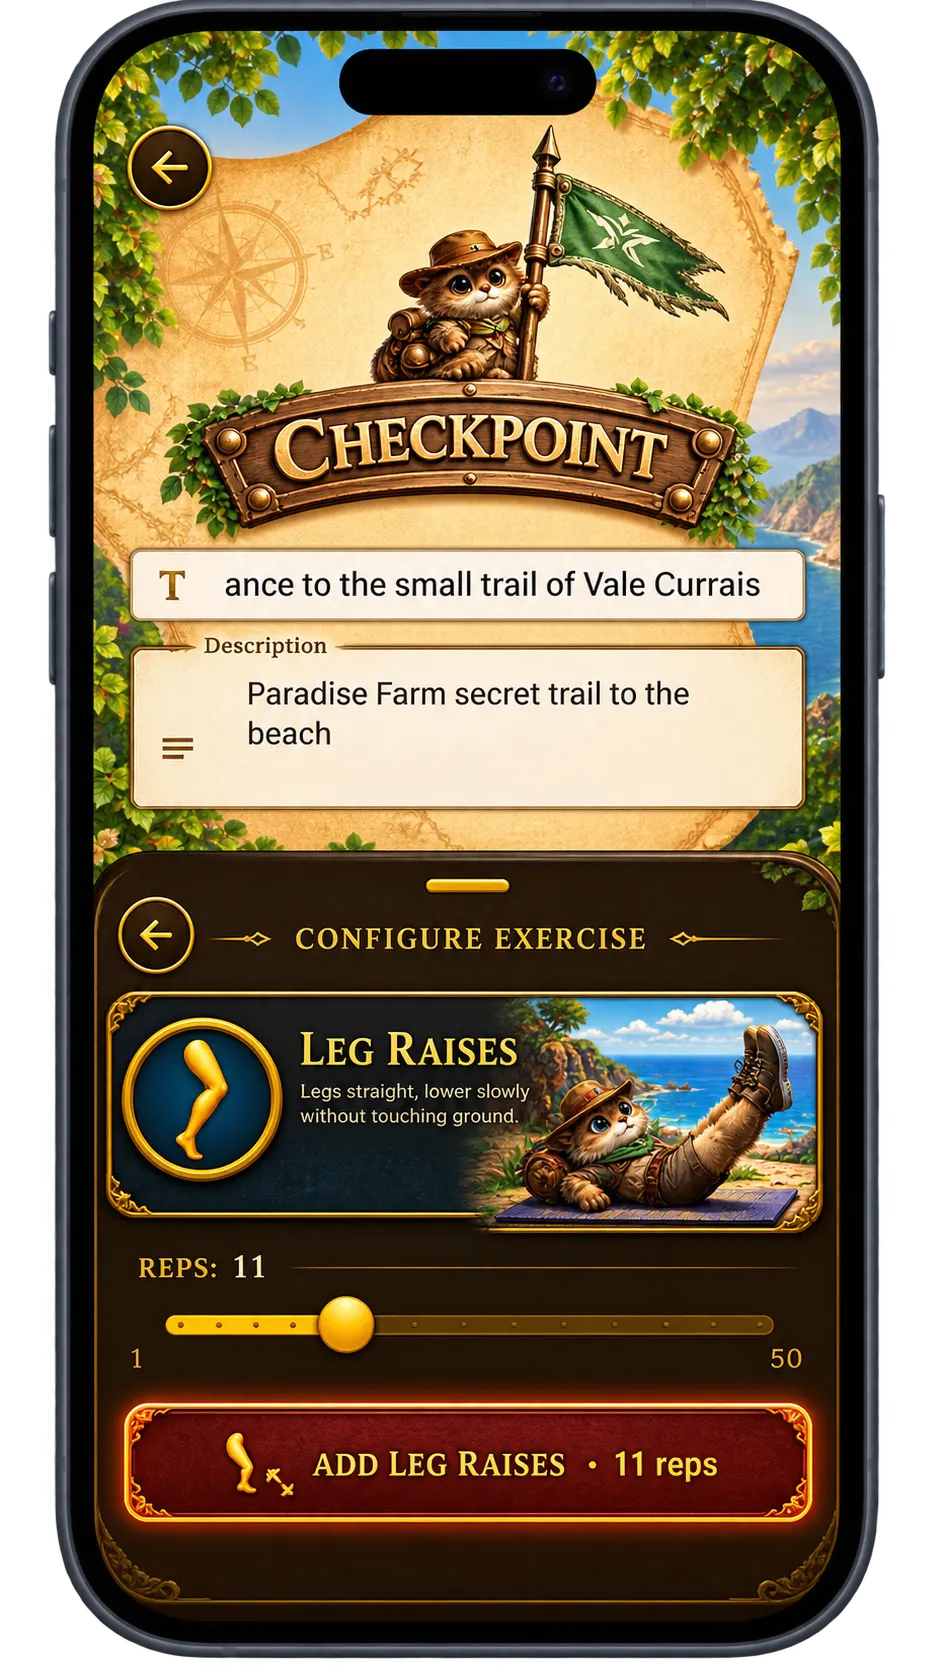
Open a checkpoint and you can attach an interaction to it — the task, question or challenge that has to be met before the quest moves on. Browse the full list before you commit; the types vary widely in effort, and mixing them keeps a route from feeling repetitive.
The same screen holds the media slider. Photos and files added here travel with the checkpoint and give players something to recognise the place by.
A checkpoint with no interaction still works as a waypoint. Use those to guide people through a stretch that needs no task.
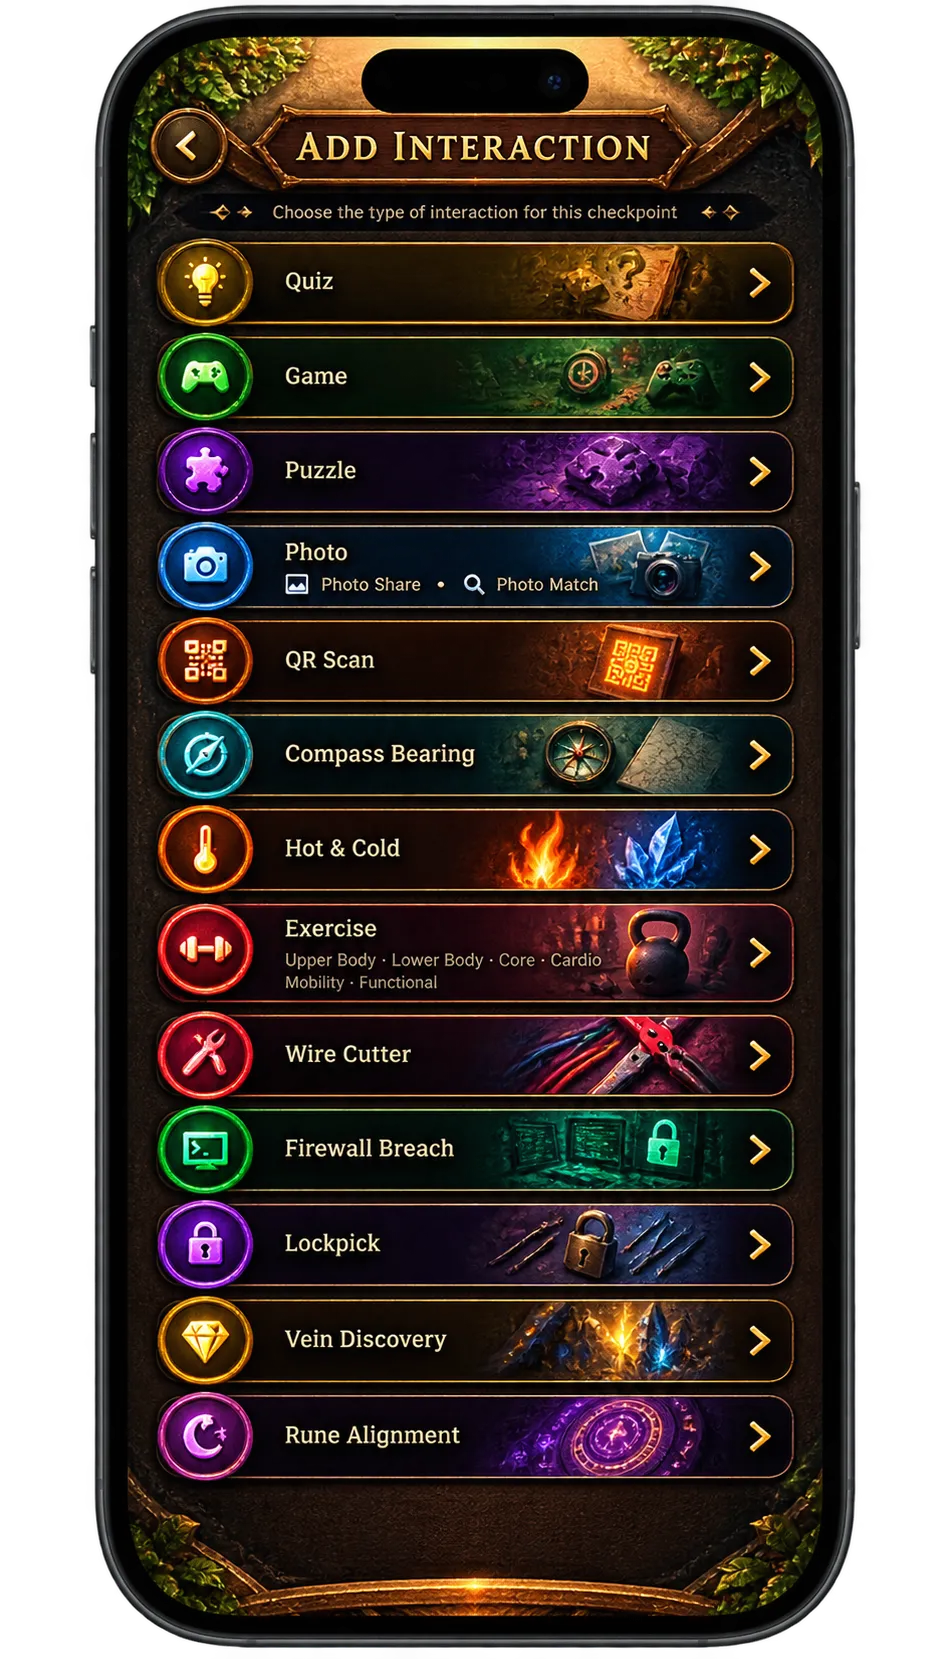
Add an Exercise interaction
Exercise is a good type to learn on, because it shows how a checkpoint turns a location into an activity. Choose it from the interaction list and the checkpoint asks players to complete a physical task before continuing.
Which exercise you pick sets the tone of the whole quest. A short set at every checkpoint reads as a training route; one demanding set at the summit reads as a reward.
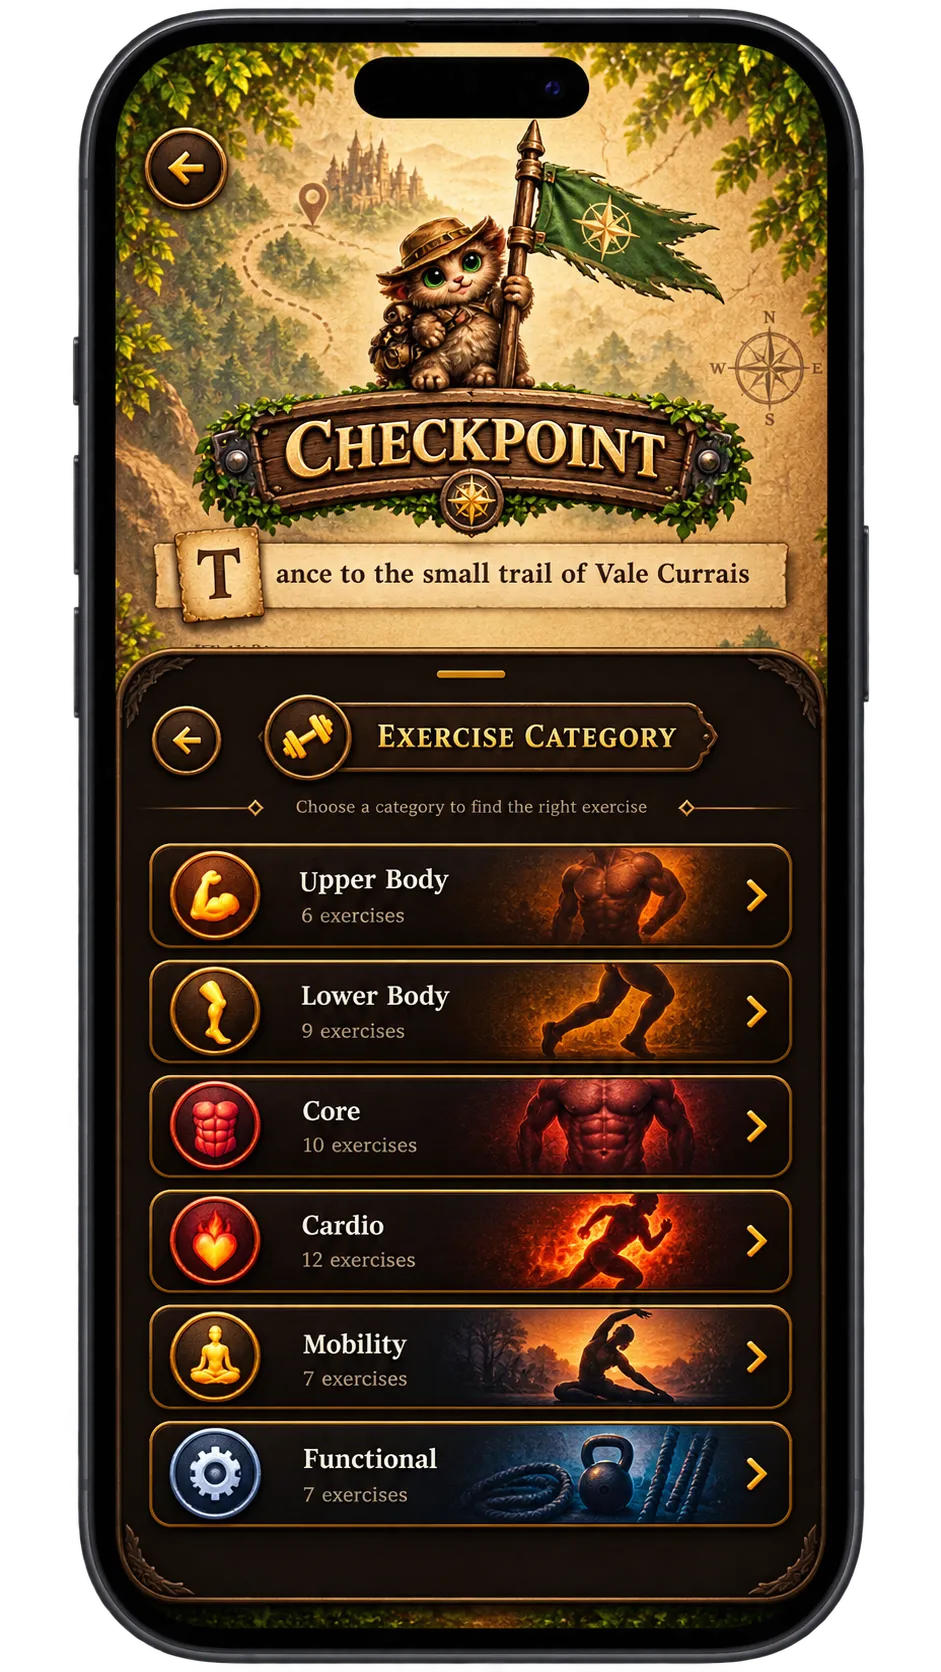
Set the terms of the exercise
The configuration screen is where the interaction becomes specific: which movement, how many repetitions or how long, and how much it is worth. Keep the difficulty in line with the physical profile in your settings, since that profile is what the app uses to judge whether a quest suits a player.
Save, and the checkpoint is done. Repeat for the rest of the route and the quest is ready to publish — or to edit, which is the next section.