ENTER WAYBOUND
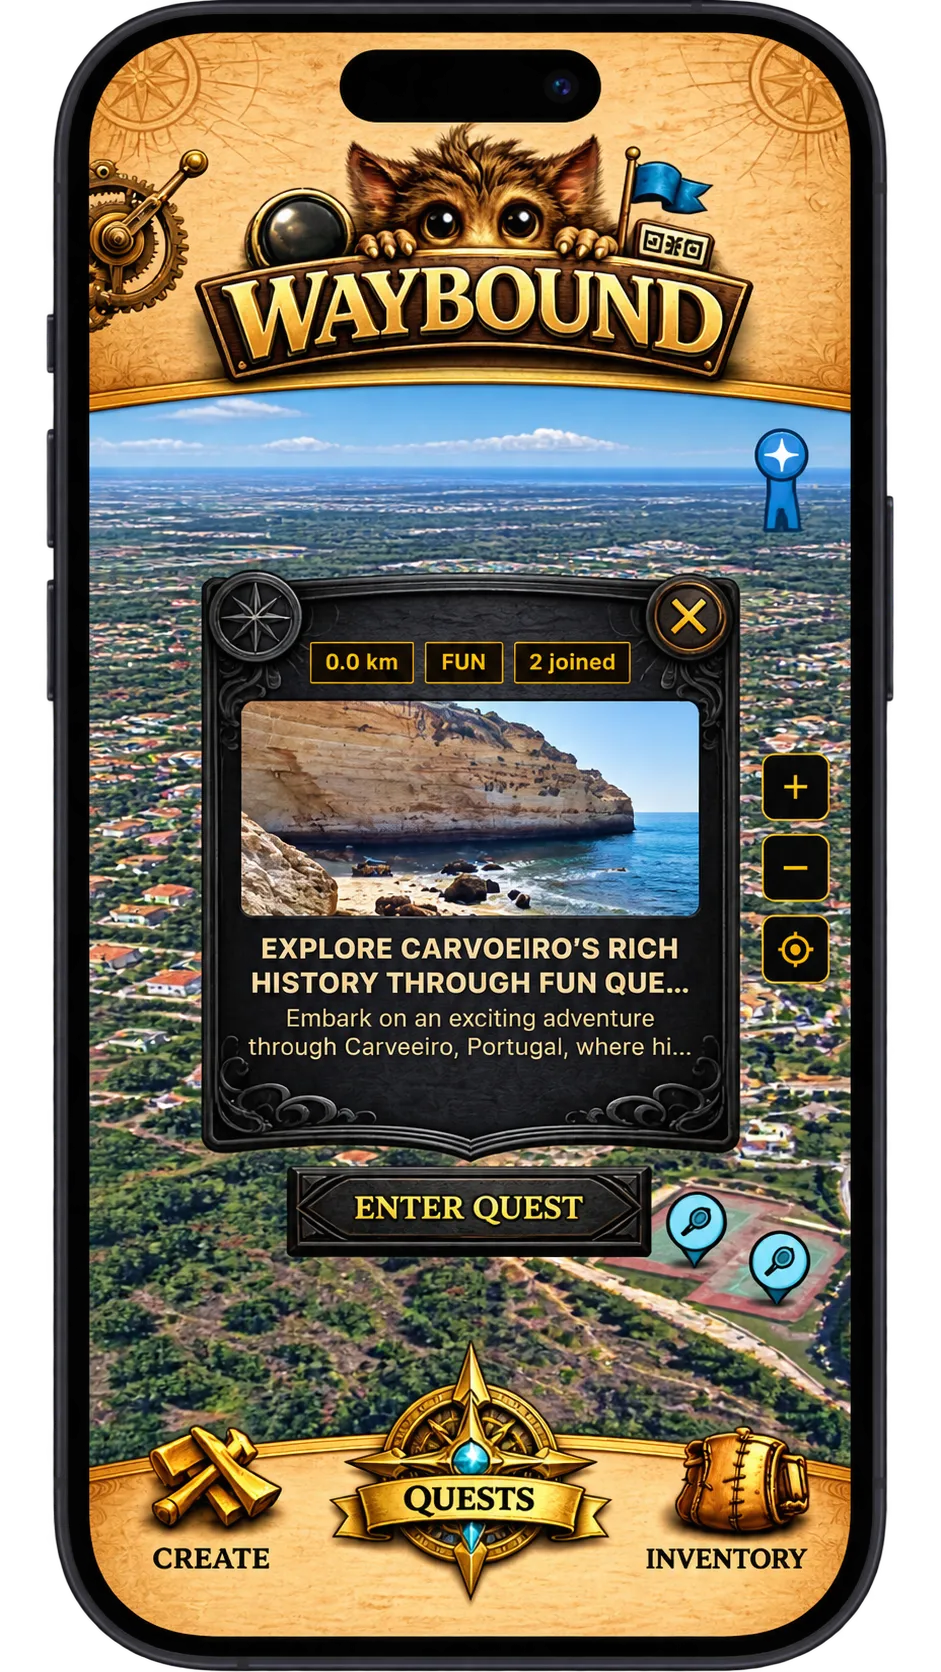
Waybound opens on the home screen, and almost everything starts from there: making a quest, finding one near you, and checking what you have earned. The settings live one tap away behind the cogs in the upper-left corner, and they shape how every quest is written and judged.
Build a quest
Create is the first of the three destinations in the main navigation. It takes you into quest building: a title, a route, and the checkpoints along it. You can lay all of that out yourself or hand the work to the AI generator on the same screen.
Nothing you make here is public until you decide it is, so it is safe to open Create simply to see what a quest is made of.
Find what is around you
Quests lists everything you can play. By default it is ordered by distance, closest first, so the top of the list is always the quest you could start walking to right now.
Each entry shows as a preview card with its title, images and type. Tapping one opens its details screen, which is where you read the description and decide whether to take part.
Keep what you earn
Inventory collects your achievements as you complete quests and win matches. It is also the way through to the Caravan, reached by the link on this screen.
Worth checking after a long walk — progress that accrued along the way shows up here rather than in the quest you just finished.
Adapt Waybound to the journey ahead
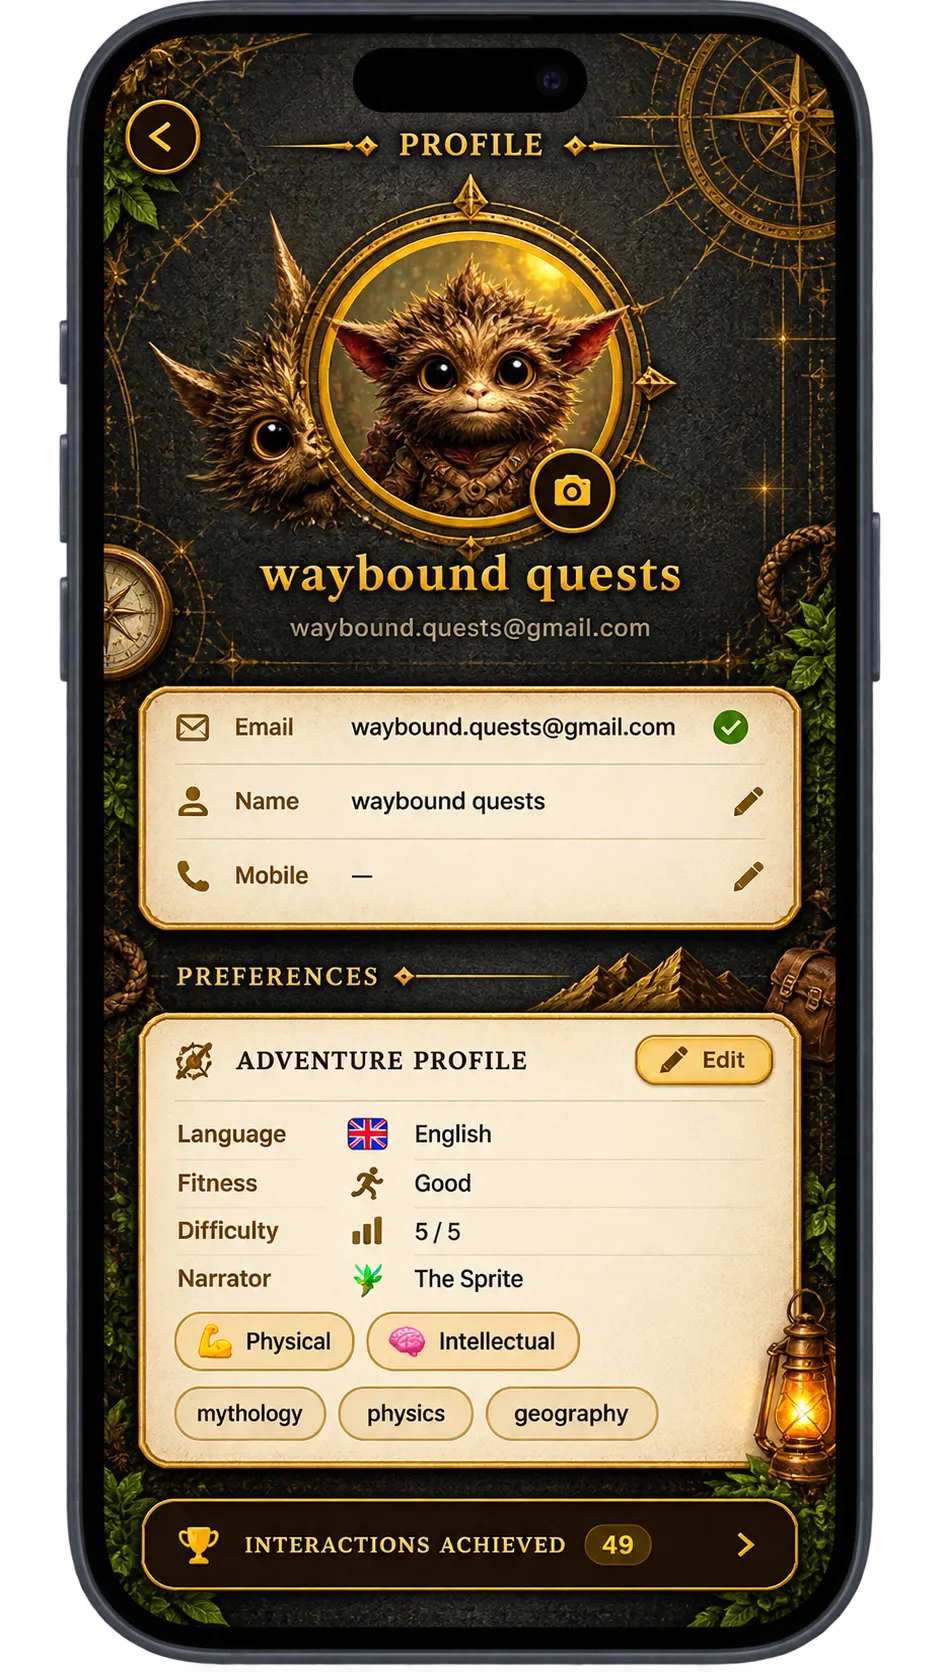
Your profile holds both personal and quest settings: language, the narrator you hear, the styles you prefer, and your physical and cognitive profiles. Together they decide how quests are written for you and how demanding they are allowed to be.
Change them whenever the kind of journey changes — a family walk and a training route want very different settings, and the AI generator reads these values before it plans anything.
Tap the cogs to open Settings
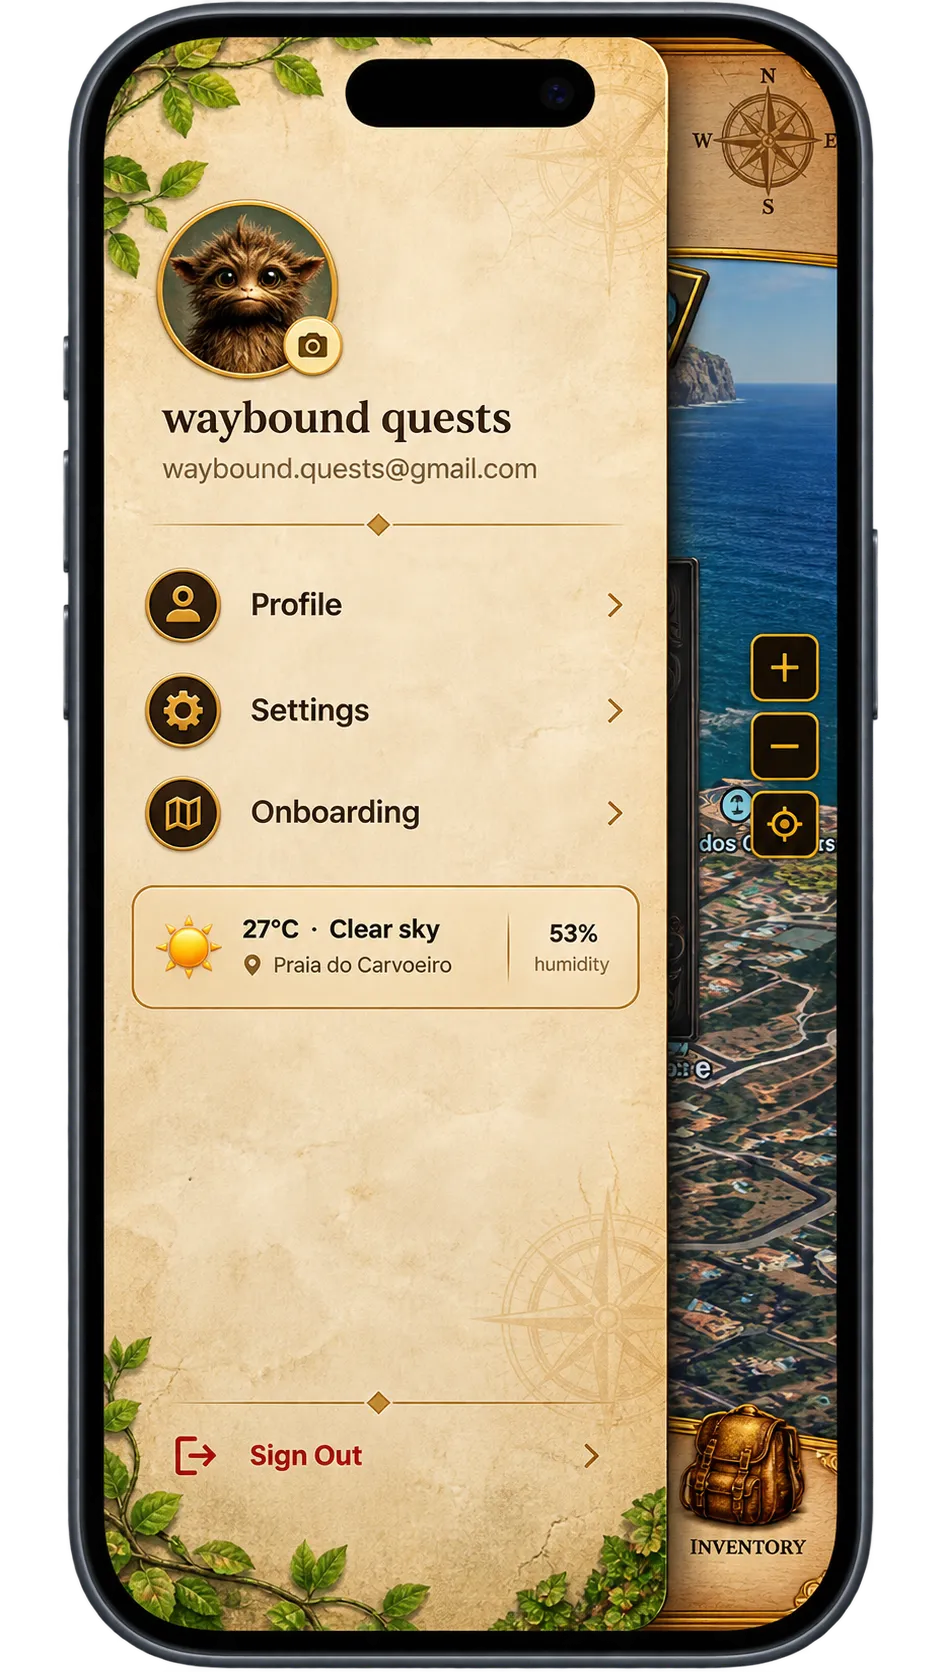
The drawer slides out from the upper-left corner and holds everything that is not a quest. The cogs at the top take you into Settings.
This is the fastest route to settings from anywhere in the app, so it is worth learning the gesture early.
Every setting, in sections
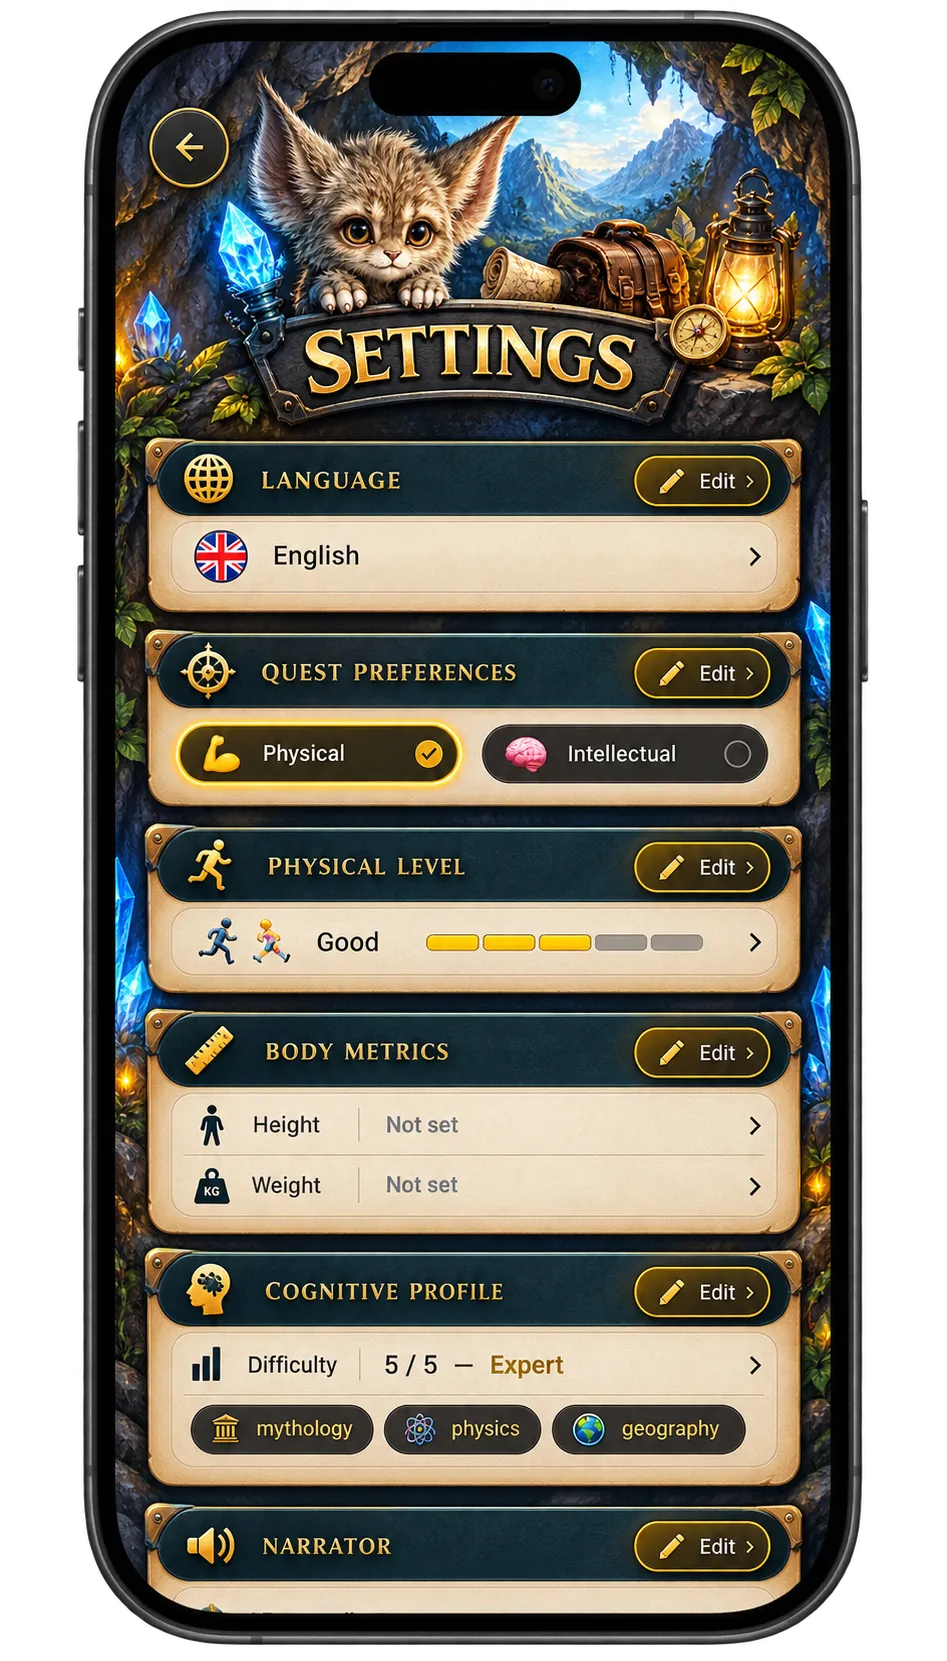
Settings is grouped into sections so you can change one thing without reading all of it. Updates apply immediately and carry into every quest you generate or join afterwards.
If a quest ever feels mismatched — the wrong language, too hard, the wrong tone — this is the screen to revisit before blaming the quest.